Integration for ServiceNow
Last modified on August 15, 2025
This feature is part of the Enterprise plan. If it is not enabled for your organization, please contact StrongDM at the StrongDM Help Center.
StrongDM’s integration for ServiceNow allows your organization’s users to request access to StrongDM-managed resources from within your ServiceNow instance. This integration uses Access Workflows on the StrongDM side, enabling you to manage StrongDM access requests alongside your existing processes in ServiceNow.
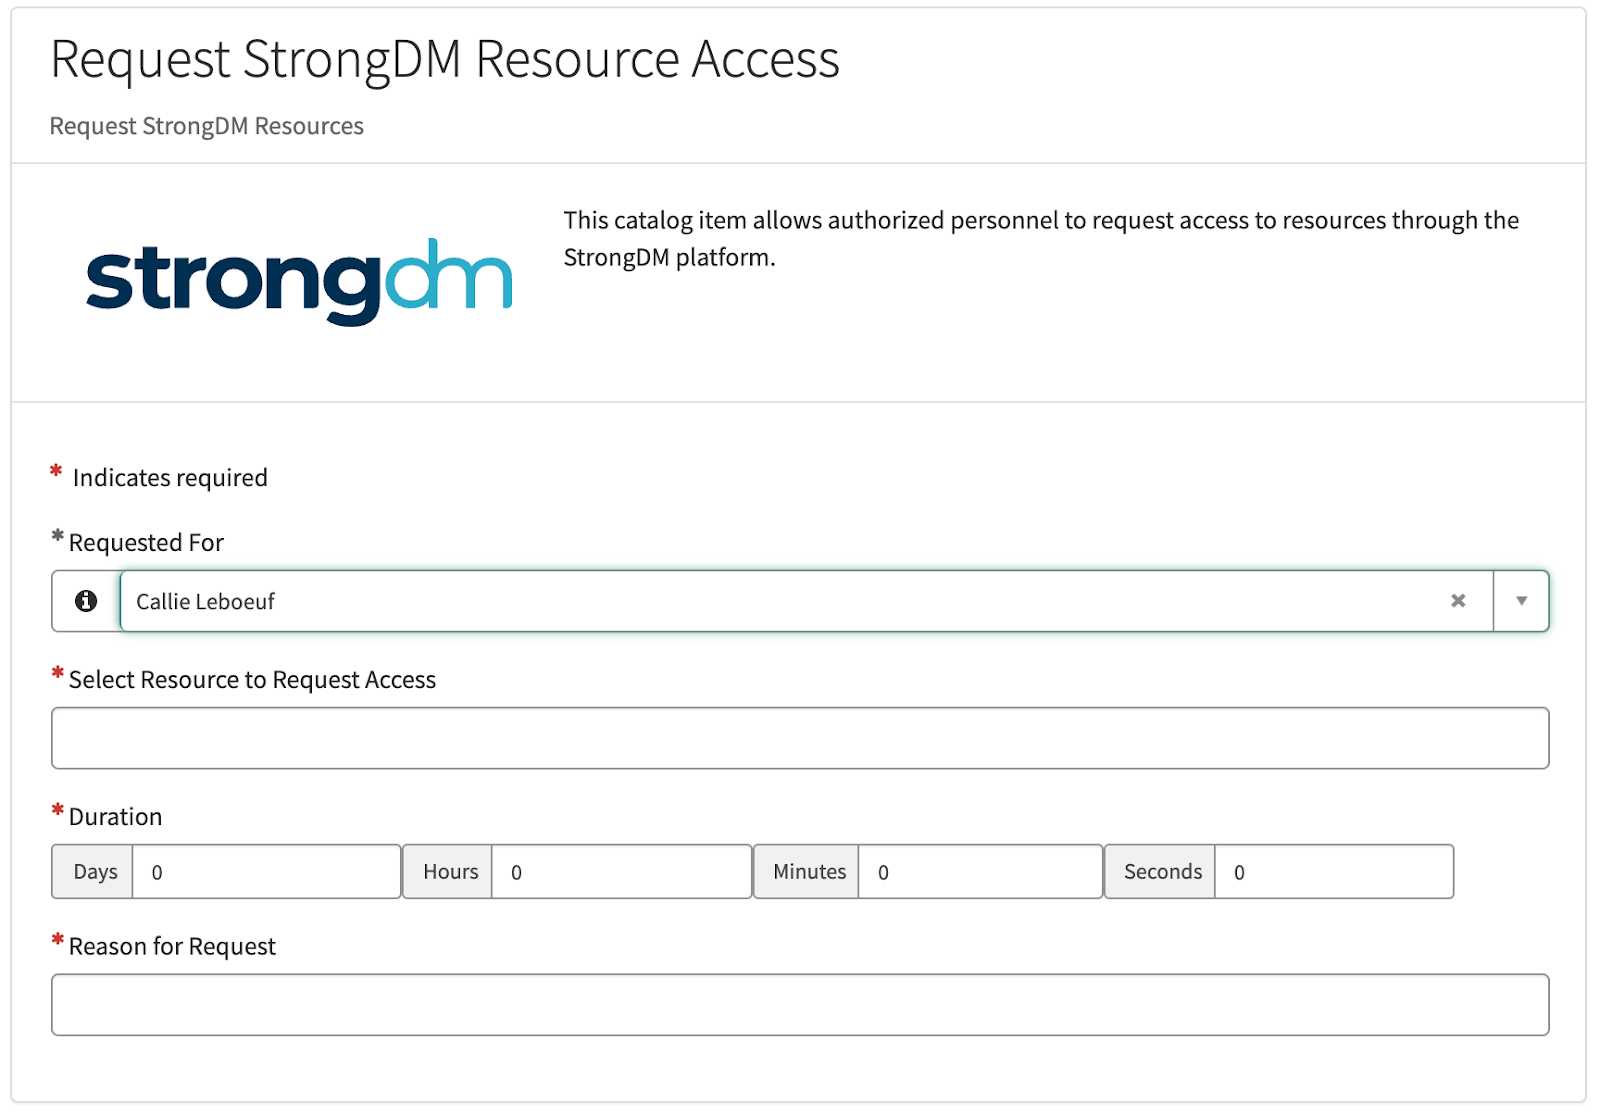
This integration requires that you install StrongDM’s ServiceNow application from the ServiceNow Store. After installation, you will be given a sample Flow as well as a set of Flow Actions in Flow Designer from which you can build your own customer workflows to facilitate StrongDM access requests. We also provide a sample service catalog item in ServiceNow, which will allow your users to request StrongDM resources directly through ServiceNow.

After a request is made and then approved in ServiceNow, StrongDM is informed and access to the requested StrongDM resource is granted to the user by StrongDM. Access is automatically revoked by StrongDM at the end of the access grant’s duration.
Use Cases
Consider the following use cases for using the ServiceNow integration.
- As an admin, you want your organization’s users to be able to request access to StrongDM-managed resources without leaving ServiceNow.
- As an admin, you want to define a more complex, custom approval process for access requests, where it’s required for multiple approvers to approve a request before it can be granted (for example, require a user’s manager, manager’s manager, and supervisor to approve a request to access a certain resource).
- As an admin, you want to enable bulk requests for users, so users can request access to multiple resources at a time.
- As an admin, you want to allow users to be able to request access to resources on behalf of another user.
Prerequisites
To facilitate access requests through the ServiceNow integration, the following items are required:
- Enterprise StrongDM subscription
- StrongDM administrator account
- Access to administer your organization’s ServiceNow instance, including the ability to install ServiceNow Store applications and use Flow Designer
Administrator Configuration
- Install the StrongDM integration from the ServiceNow Store.
- Follow the installation guide (available in the sidebar of the ServiceNow Store under “Links and documents”) to enable the integration within StrongDM before setting up the integration in your ServiceNow instance. Part of the installation guide instructs you to do some configuration on the StrongDM side. Those steps are summarized in this article from step 3 to step 5.
- Generate API keys in the StrongDM Admin UI.
- After logging in to the Admin UI, go to Integrations > Workflows > ServiceNow and click Connect.
- On the ServiceNow Integration dialog that displays, enter your ServiceNow instance URL and click Ok.
- If Identity Set mapping is enabled for your StrongDM organization, User Lookup Attribute options are also shown in the dialog. These user lookup attributes get mapped to the “user_name” field in ServiceNow, and the mapping is used to uniquely identify users between StrongDM and ServiceNow. Select one of the following:
- External ID (default): When selected, the StrongDM “ExternalID” is matched against ServiceNow “user_name” to look up users.
- Identity Set: When selected, the StrongDM “IdentitySet” defines the aliases used when matching the ServiceNow “user_name” to look up users. StrongDM will look up the user in that Identity Set with an Identity Alias that matches “user_name.” Note that an Identity Set must already exist for it to appear in this list.
- Click Ok.
- Save the set of access and secret keys that are shown. You need those secret keys while configuring ServiceNow.
- Set up an approval workflow in your StrongDM organization.
- In the Admin UI, go to Access > Approval Workflows.
- Create a new approval workflow using the ServiceNow approval type, and then save it.
- Create an access workflow that uses the ServiceNow approval.
- From Access > Access Workflows, create a new access workflow.
- Choose the roles that you wish to be able to request resources using this workflow and the resources you wish them to be able to request.
- Select the approval workflow you just created as the approval option and save the access workflow.
- Follow the remaining configuration instructions from the ServiceNow installation guide to configure the integration in your ServiceNow instance.
Identity Sets With ServiceNow
This feature is currently in closed-access beta. Functionality and documentation may change. Contact StrongDM for more information.
Identity Set mapping allows you to define how ServiceNow usernames are mapped to StrongDM usernames using Identity Aliases in Identity Sets.
If Identity Set mapping is enabled for your StrongDM organization, user lookup attribute options will be available to you when configuring the ServiceNow integration in the StrongDM Admin UI. User lookup attributes get mapped to the user_name field in ServiceNow, and the mapping is used to uniquely identify users between StrongDM and ServiceNow.
The following options are shown underneath the Instance URL field of the ServiceNow Integration dialog:
- External ID: When selected, the StrongDM
ExternalIDis matched against ServiceNowuser_nameto look up users. This is the default option. - Identity Set: When selected, the StrongDM
IdentitySetdefines the aliases used when matching the ServiceNowuser_nameto look up users. StrongDM will look up the user in that Identity Set with an Identity Alias that matchesuser_name. Note that an Identity Set must already exist for it to appear in this list.
For complete ServiceNow integration configuration instructions, please see the installation guide available on the ServiceNow Store.