EC2 Nodes
Last modified on July 16, 2025
Overview
This guide explains how to install a StrongDM node (gateway or relay) on EC2. The StrongDM node works with any Linux distribution and any server with two CPUs and four GB of memory.
Steps
- Launch an EC2 instance: we recommend a t3.medium (2 vCPU, 4 GB RAM) with any Linux distribution. Modify the security group to allow your StrongDM clients to reach this server. By default this is port 5000 from all sources. This can also be a custom port from a private subnet depending on your network configuration.
There are also automated options for node setup.
- If you are comfortable with Terraform, and choose to set up a gateway in AWS, you can automate gateway setup.
- Alternatively, if you prefer Docker, see our Docker documentation.
- Navigate to the StrongDM Admin UI.
- Go to Networking > Gateways and click Add gateway, or go to Networking > Relays and click Add relay
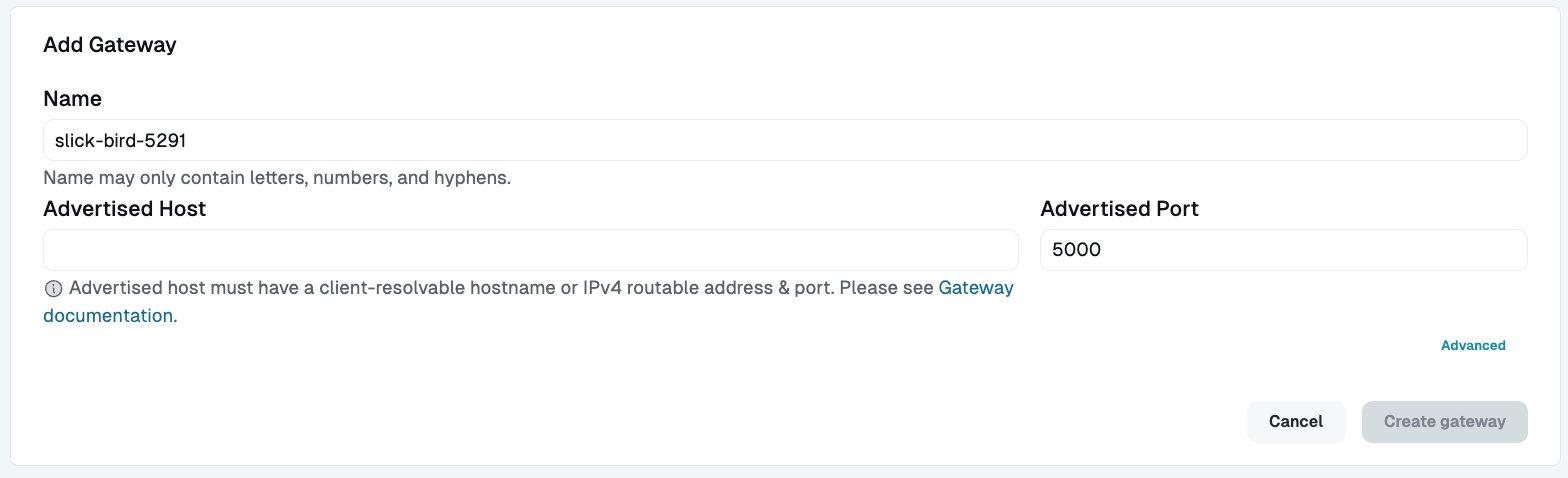
Add Gateway - For a gateway, for Advertised Host, enter the hostname or IP address from the EC2 instance. The hostname that you provide should be either the public IPv4 address or the external DNS hostname (which will resolve to the public IPv4 address). Additionally, for Advertised Port, enter the port that you left open for the gateway to interact with StrongDM clients (by default,
5000). - For a relay, name the relay.
- Click Create gateway or Create relay. This generates a token that is shown to you one time that you’ll need to use later in the installation process. Carefully copy the token and save it somewhere for later use.
- Log in to the EC2 instance you created to host your gateway or relay.
- Download the StrongDM binary:
curl -J -O -L https://app.strongdm.com/releases/cli/linux - Unzip it (if this is a new server, you may need to install a package to unzip archives, such as with
sudo apt-get install unzipon Ubuntu distributions):unzip sdmcli_VERSION_NUMBER_linux_amd64.zip - Install the node:You will be prompted for the token you created; paste it in and hit enter. Note that the token won’t show in the terminal for security purposes, similar to the masking of a password.The installer must be run by a user that exists in the
/etc/passwdfile. Any users remotely authenticated, such as with LDAP or an SSO service, may fail to complete the installation. - Switch back to the Admin UI Gateways or Relays page. The node you created should appear to be online and have a heartbeat. If it doesn’t appear online, perform a hard refresh of your browser. Within a couple minutes, if it is still not online, verify that the StrongDM service is running by running
ps aux|grep sdmon the server and looking for a line that sayssdm relay.