SSO With Auth0
Last modified on March 27, 2025
This document details the steps to set up Auth0 single sign-on (SSO) to manage authentication for StrongDM.
Steps
- In Auth0, click Create Application. Name the application StrongDM and select Regular Web Applications as the application type.
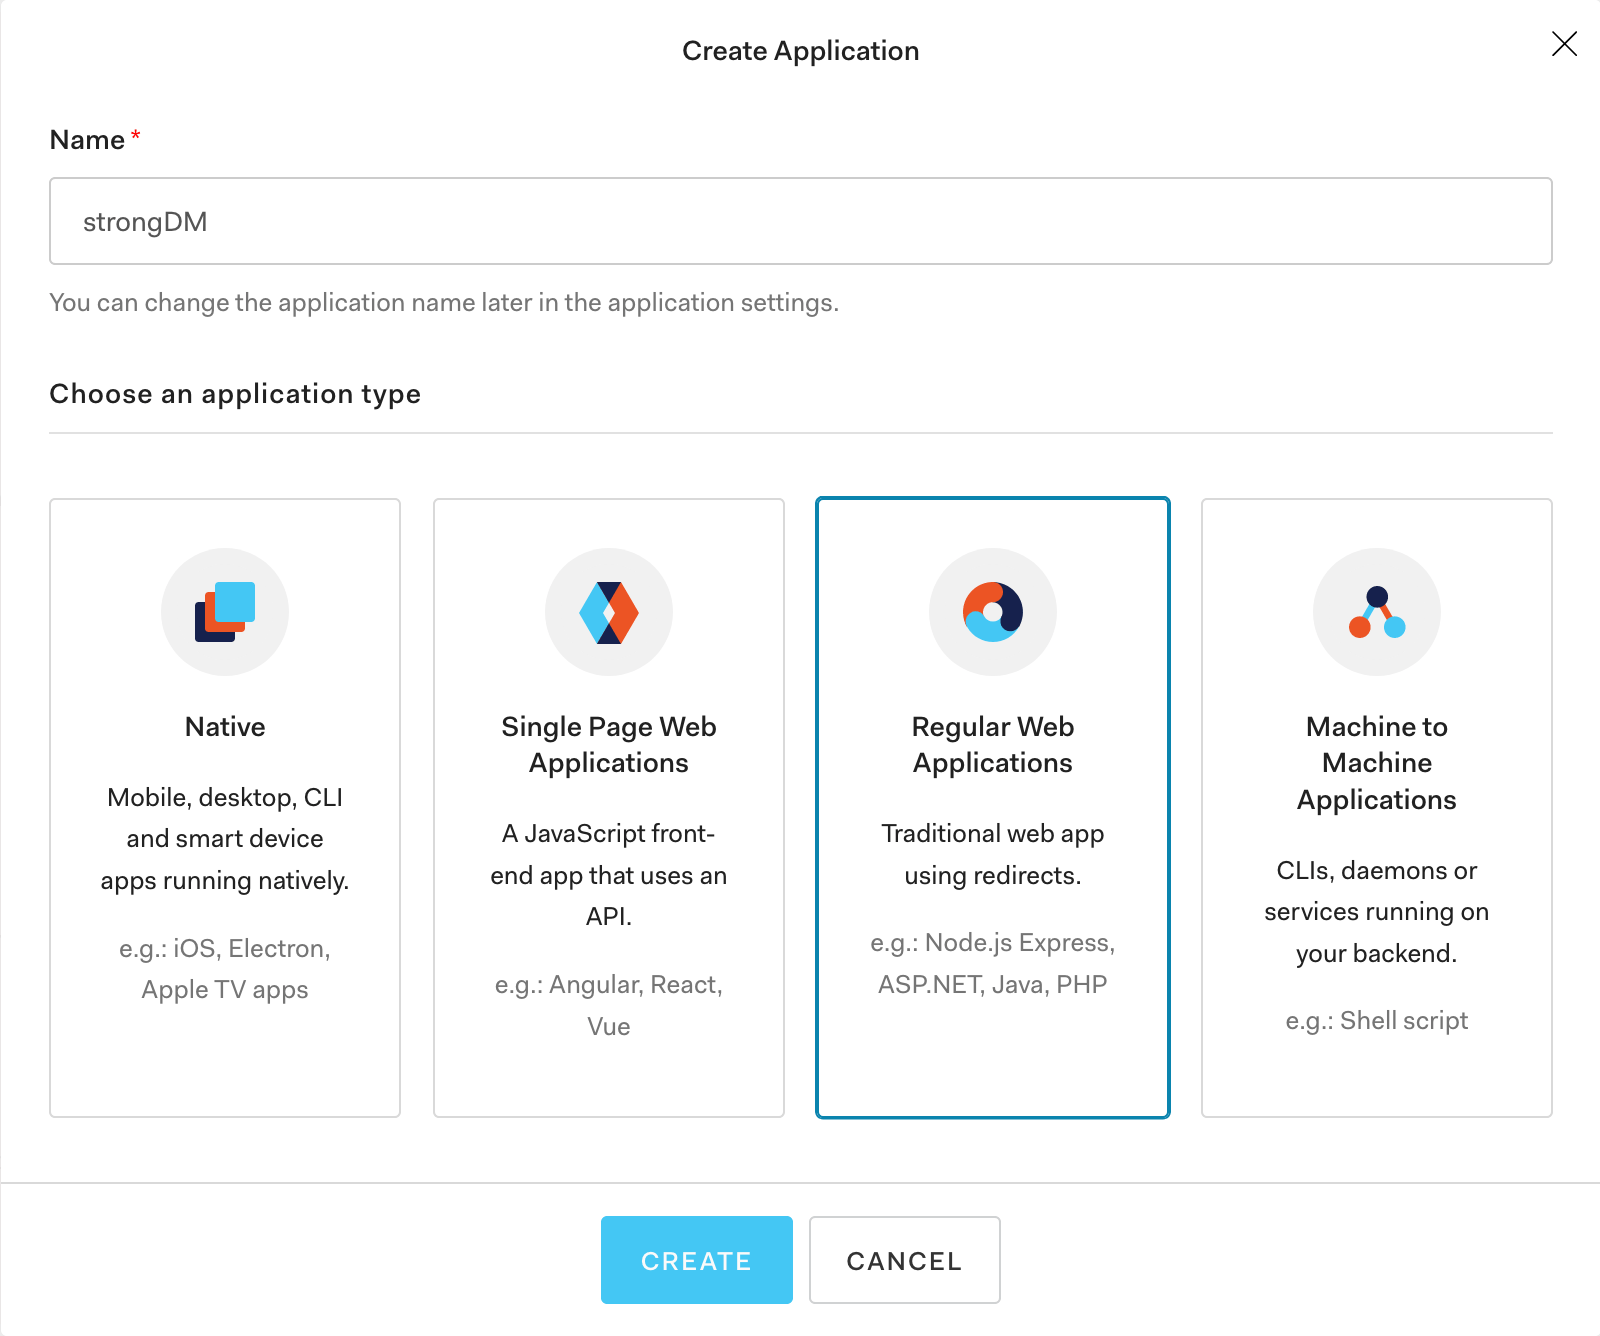
Create Auth0 Application - Next, configure the application. If you are prompted to select a technology to integrate with, click Skip Integration. Then under the Settings tab, enter the following information depending on your tenant location:
- Allowed Callback URLs:
- Allowed Web Origins:
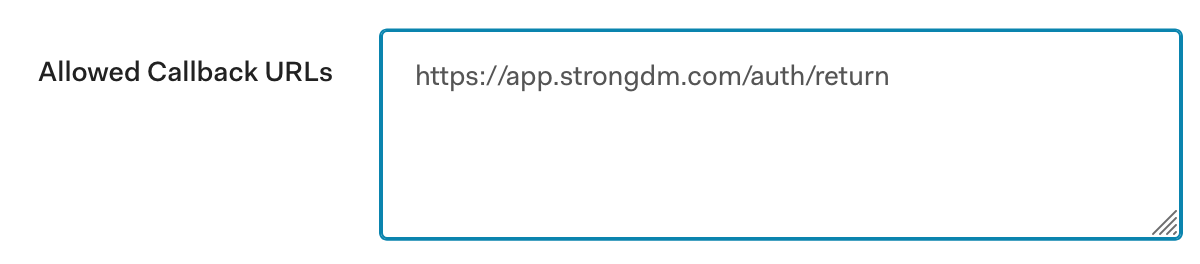
Configure Auth0 Application
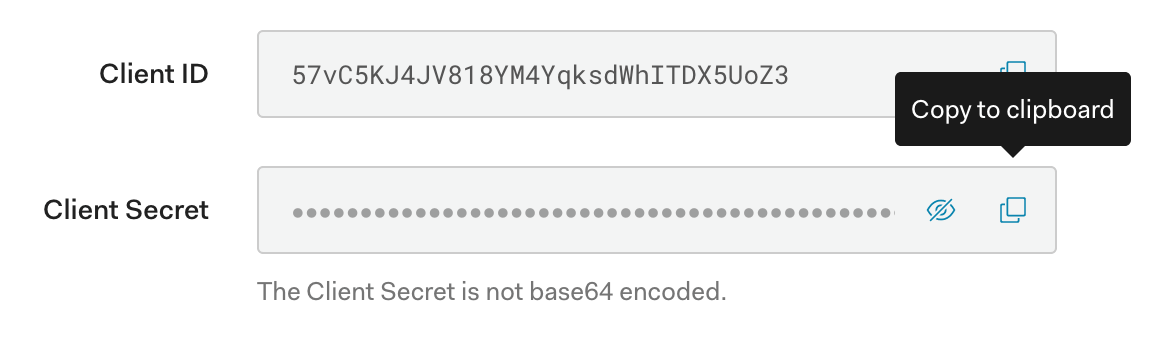
- In the Basic Information section, copy the Client ID and Client Secret values. You will need them in the next step.
Client ID and Client Secret - In the StrongDM Admin UI, go to Settings > User Management. In the Single Sign-on section, click the lock to make changes. Select Auth0 from the provider drop-down menu. Add your single sign-on URL (e.g.,
https://<yourorg>.auth0.com; be sure to include thehttps://), Client ID, and Client Secret.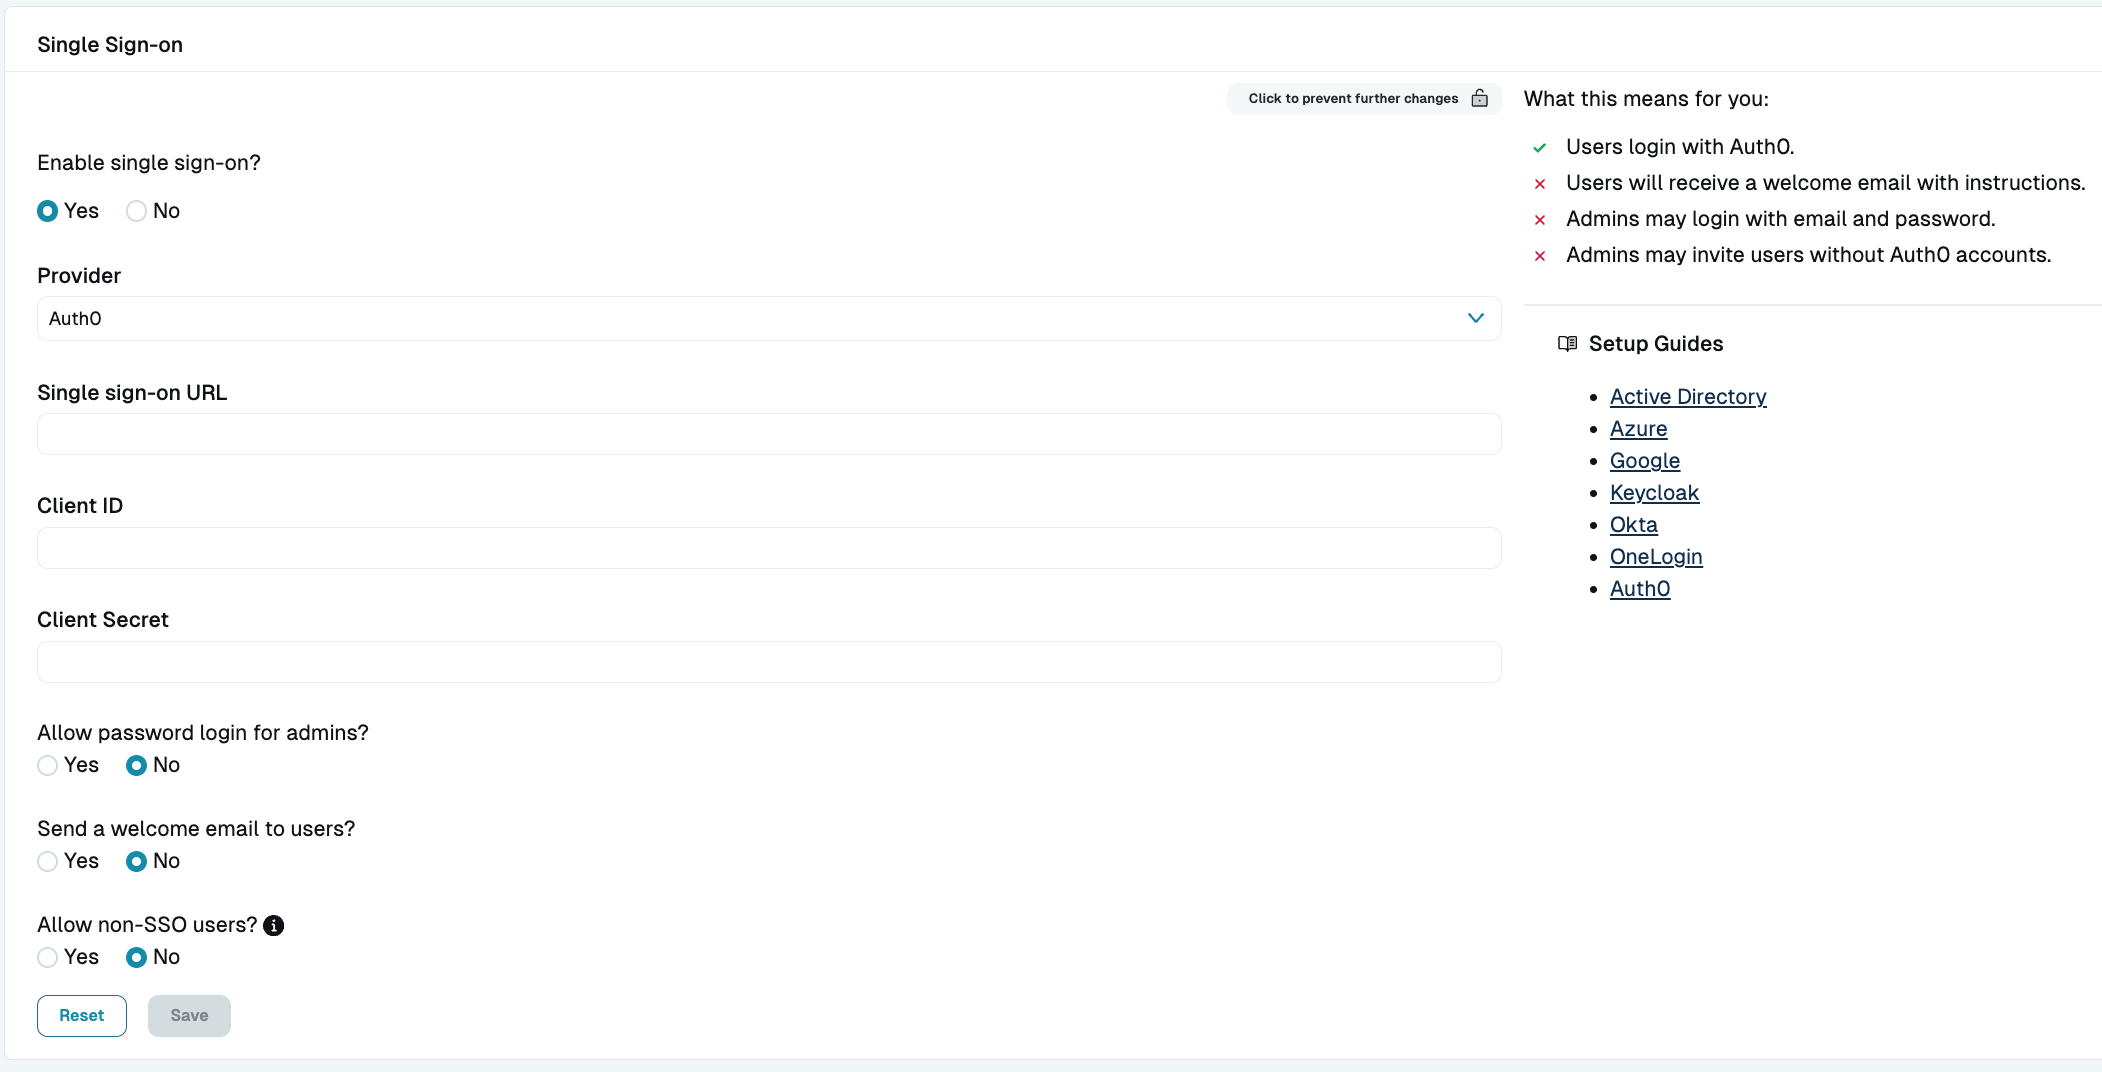
Activate Auth0 SSO in StrongDM - Confirm Auth0 access: Back at Auth0, confirm that the email addresses for all users are identical in both StrongDM and your SSO provider. Confirm that all users to whom you intend to grant database access have access to the StrongDM application by default.
At this point, you should be ready to enable SSO.