

A cybersecurity audit is a comprehensive assessment of your organization's information systems, networks, and processes that identify vulnerabilities and weaknesses that cybercriminals could exploit. The audit also evaluates the effectiveness of your security controls, policies, and procedures and determines if they align with industry best practices and compliance standards.

StrongDM manages and audits access to infrastructure.
- Role-based, attribute-based, & just-in-time access to infrastructure
- Connect any person or service to any infrastructure, anywhere
- Logging like you've never seen

In this post, we will show you how to create an SSH key, which will allow only the systems who have that key to access your bastion host. We will also look at ways you can streamline the bastion host login process without compromising the security of the key.
The full tutorial is split into three parts:
Part 1: Creating your bastion hosts
- This post shows you how to create Linux virtual machines in Amazon Web Services, setup virtual networking, and create initial firewall rules to access the hosts.
Part 2: Managing SSH keys
- We will show you how to create an SSH key for your bastion host and look at ways you can streamline the bastion host login process without compromising the security of the key.
Part 3: Configuring hosts for logging
- How to configure our bastion hosts to gather verbose logging data and send it off site to a cloud service.
In the previous section, we walked through installing and configuring a bastion host and guest, and completed some initial network security configurations to lock network access down to only specific IP addresses. In this post, we will further adjust our bastion hosts to simplify SSH access without weakening the security of the hosts or the key itself.
Configuring ssh-agent
With SSH configuration complete, next we will configure SSH forwarding, which is going to allow us to connect to the bastion host, and then create the subsequent connection to our bastion guest - all without storing our private SSH key on either server.
To configure this on a Mac (see this Amazon knowledge base article for Windows instructions), issue the following command:
ssh-add -K name-of-your-key.pem
 If you want to verify the key has been successfully added, issue this command:
ssh-add -L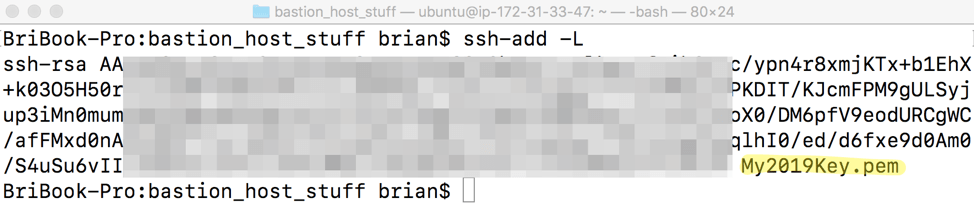
Connecting to the bastion host with ssh-agent
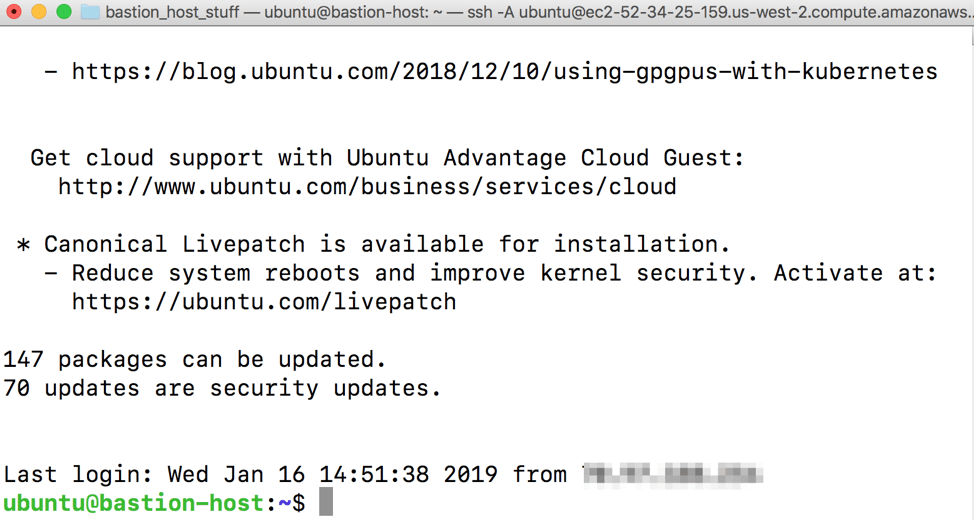
Now you should be able to connect to your bastion host without specifying the .pem file, as it is securely stored on your machine:
ssh -A ubuntu@fully.qualified.domain.name

You should now be fully logged into your bastion host:
Connecting to the bastion guest
Now that we have ssh-agent working and are fully logged into the bastion host, we should now be able to simply issue an SSH command to connect right to the bastion guest’s internal IP without providing the private key or any credentials. Do this by issuing:
ssh ubuntu@the.internal.ip.address
In our environment, this IP address is 172.31.41.192, so I’ll run:

You should see some login banner information and then get dropped to what looks like the same host:
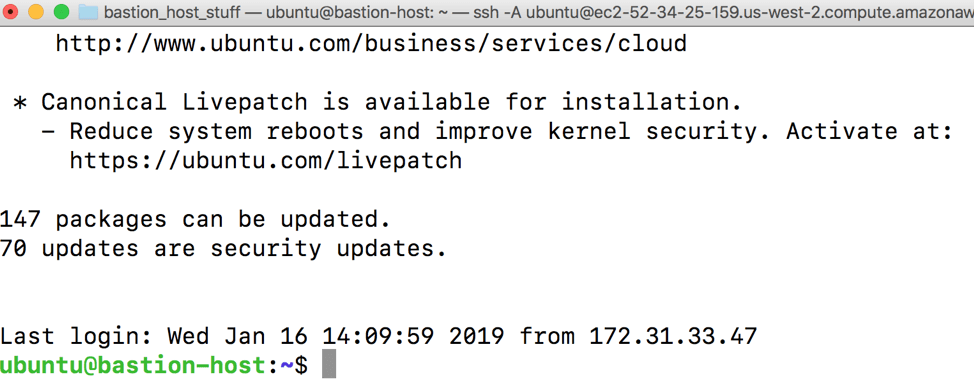
However, if you issue the ifconfig command, you should see that we are indeed connected to the private IP corresponding with the bastion guest:
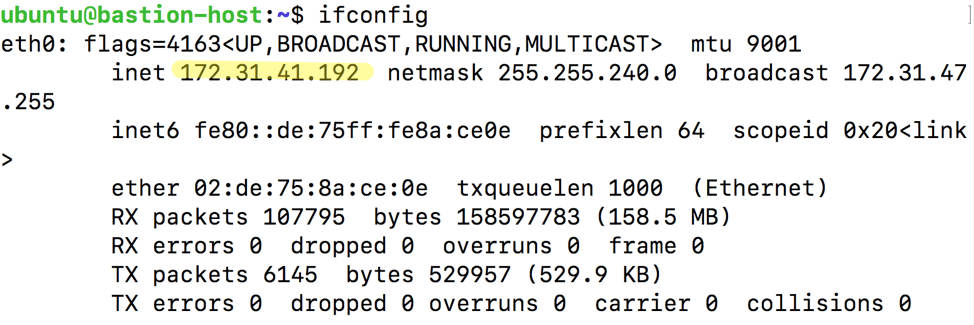
For now, type exit and Enter to drop your SSH connection back to the bastion host.
At this point we have configured SSH access control to only specific IP addresses, and configured our management system to use the private SSH key as a “forwarder” so we can easily log into both the bastion host and guest systems. In the third and final part of this series, we will configure our bastion systems to collect verbose log data and then send it to a cloud provider.
To learn more on how StrongDM helps companies with auditing, make sure to check out our Auditing Use Case.
About the Author
💙 this post?
Then get all that StrongDM goodness, right in your inbox.
You May Also Like
The NIS2 Directive establishes comprehensive cybersecurity legislation across the European Union. Building upon its predecessor, the Network and Information Security (NIS) Directive, the goal of NIS2 is to standardize cybersecurity practices among EU Member States. Much like the General Data Protection Regulation (GDPR), NIS2 seeks to unify strategies and actions throughout the EU to fortify digital infrastructure against the escalating threat of cyberattacks.

Zero trust is a security and authentication model that eliminates the assumption of trust and shifts the focus from a traditional security parameter, like a VPN or firewall, to the individual user. Nearly all (92 percent) cybersecurity professionals agree that it’s the best network security approach that exists. In this article, we’ll evaluate the top nine zero trust solutions and help you decide which is right for your organization.
StrongDM is working with the National Institute of Standards and Technology’s (NIST’s) National Cybersecurity Center of Excellence (NCCoE) on Cybersecurity for the Water and Wastewater Sector: A Practical Reference Design for Mitigating Cyber Risk in Water and Wastewater Systems. This effort provides a means to identify common scenarios among Water and Wastewaters Systems (WWS) sector participants, to develop reference cybersecurity architectures, and propose the utilization of existing commercially available products to mitigate and manage risk.
Last week, Red Hat issued a warning regarding a potential presence of a malicious backdoor in the widely utilized data compression software library XZ, which may affect instances of Fedora Linux 40 and the Fedora Rawhide developer distribution. CISA, or Cybersecurity & Infrastructure Security Agency, confirmed and issued an alert for the same CVE.