
Written by
Fazila MalikLast updated on:
September 18, 2024Reading time:
Contents
Built for Security. Loved by Devs.
- Free Trial — No Credit Card Needed
- Full Access to All Features
- Trusted by the Fortune 100, early startups, and everyone in between
Identity management (IAM) and privileged access management (PAM) are crucial tools for your cybersecurity. But both need to be approached with the best practices that:
1. Keep threats away;
2. Don’t interrupt or ruin customer experiences or production.
In this article, we will go over the risks of privilege escalation attacks and what you can do to protect your systems against them.
What is a Privilege Escalation Attack?
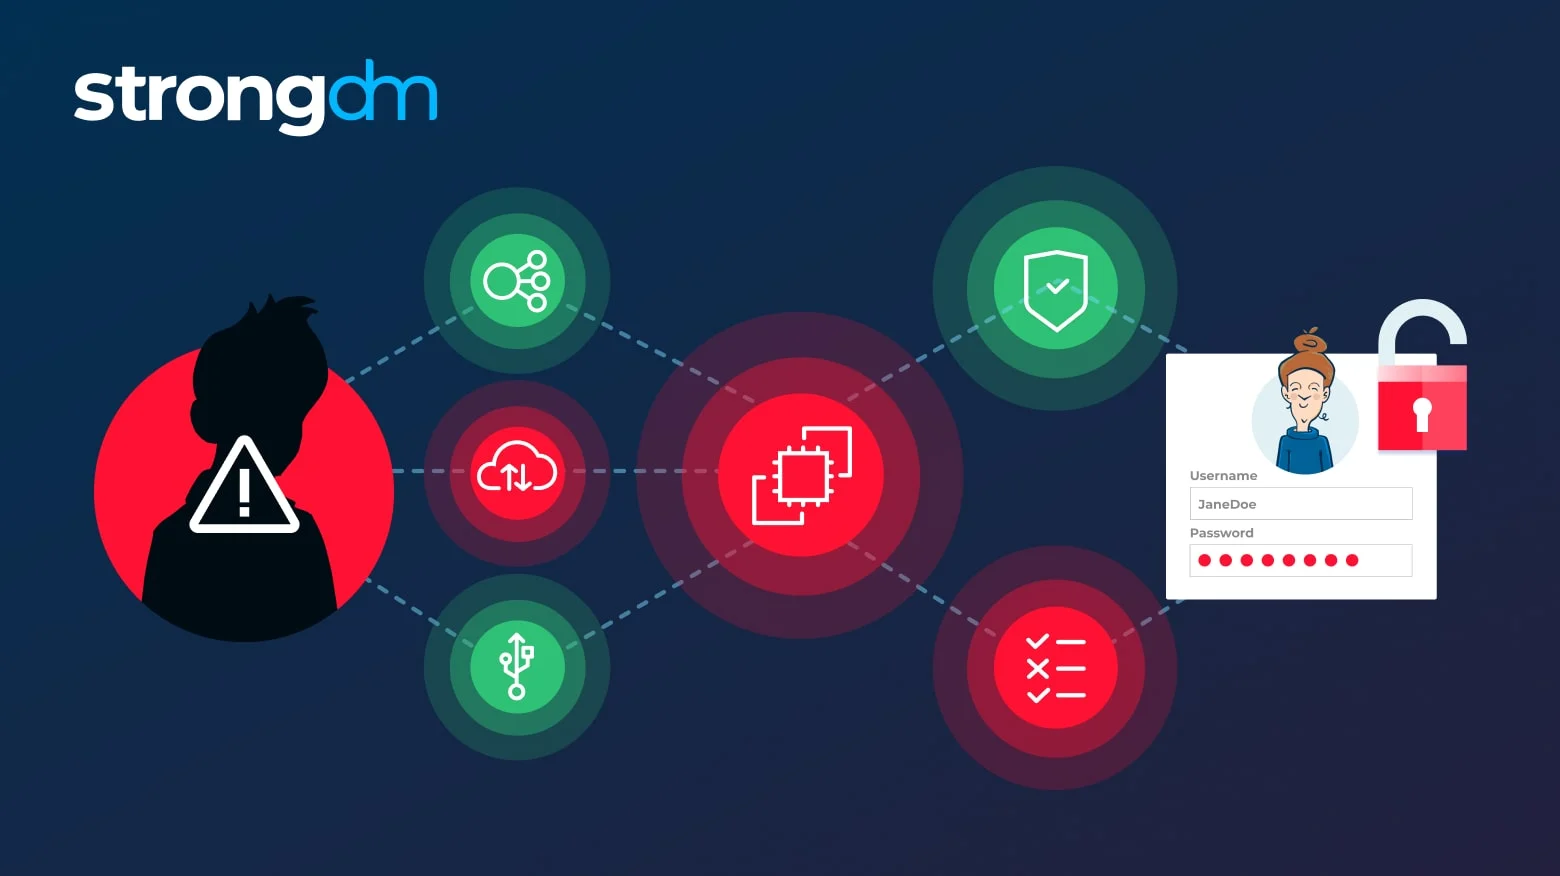
Privilege escalation is the process of gaining higher levels of access to a system, application, or network. In cybersecurity, networks, apps, and other systems authorize an initial level of access to users. Attackers seek out and exploit vulnerabilities and weaknesses to escalate their privileges using security mechanisms. Privilege escalation attacks occur when attackers successfully identify and exploit such weaknesses and gain unauthorized access.
Most attackers start with regular user privileges but seek to gain higher-level privileges such as:
- Admin privileges
- Root access
Privilege escalation takes advantage of authorization, authentication, and role-based access vulnerabilities. These mechanisms are abused so unauthorized users can gain access where they are normally not permitted for malicious purposes.
Types of Privilege Escalation Attacks
There are several techniques that attackers can use to conduct privilege escalation attacks.
1. Vertical Privilege Escalation
Vertical privilege escalation is the simplest and most easily understood type. In this, attackers attempt to move from a lower to a higher level of privilege. A typical example is rising from standard user privileges to the admin level. Vertical privilege escalation requires discovering or knowing about and exploiting software vulnerabilities, security configuration weaknesses, weak authentication measures, or other exploits.
More complex attacks may involve using malicious software or even kernel-level exploits, where attackers look in the OS kernel and try to hijack the entire system.
2. Horizontal Privilege Escalation
Horizontal privilege escalation occurs when attackers gain the same level of privileges as another user. This typically occurs when a user gains access to another user’s account. Since there's no elevation in privilege level, the only benefit to the attacker is that they can abuse the current privileges of another user’s account.
However, this means the attacker can access that user’s files or, in severe cases, their financial accounts. Methods to achieve horizontal privilege escalation include session hijacking or simple credential theft.
Examples of Privilege Escalation Attacks
Privilege escalation attacks are a constant real-world danger. They occur regularly against small businesses, but the same techniques can be expanded and employed on a much larger scale.
Equifax Data Breach
Ambitious attackers can attempt to gain unauthorized access to massive quantities of sensitive financial data. The 2017 Equifax data breach was one of the most prominent examples.
The breach started in May 2017 when Equifax was in the process of updating its credit dispute website. During the update process, attackers exploited a server-level vulnerability to gain access to the internal servers of the firm’s corporate network.
This exploit ended up revealing vast quantities of data. First, the attackers gained access to internal credentials used by Equifax employees. This enabled them to search through credit monitoring databases with the privileges authorized to Equifax employees. This is where the real trouble began.
Using employee privileges, the attackers stealthily performed thousands of scans. They used encryption to obfuscate their activities and avoid detection. Their scans of the databases revealed:
- 143 million American social security numbers, birthdates, names, and addresses
- Similar information on at least 400,000 British citizens
- More information from 34 servers in 20 countries
Ultimately, it became impossible to tally up the exact total cost of the damage that could have been done. The attack lasted 76 days before Equifax discovered the breach and shut down the exploit. It led to years of legal battles against both the attackers and Equifax. The proceedings included a $70 billion lawsuit against Equifax, the largest class-action lawsuit in US history at the time.
The Danger of Privilege Escalation Attacks
Beyond leading to the largest class-action lawsuit in US history, privilege escalation attacks regularly cause more mundane levels of damage.
A summary list of the potential consequences of successful attacks include the following:
- Data loss or theft
- Data manipulation
- Service disruption
- Fraud
- Irreparable reputational damage
- Legal action
- Intellectual property theft
- Trade secret loss
Privilege escalation compromises data security by giving the attacker less-restricted or unrestricted access. The sensitive information they access can be used for whatever purposes legitimate users might use it.
Regardless of any other consequences, these attacks lead to embarrassment for the companies that suffer from them. Immense reputational damage is done as the public sees them as less trustworthy with sensitive information.
Beyond that, there are many potential legal consequences not only for attackers but for victimized companies as well. These legal consequences are complex and stem from many areas, including:
- SEC regulations that require companies to disclose material cybersecurity risks (See the most current update)
- FTC regulations that require companies to meet certain cybersecurity standards and address known risks
- State laws regarding data breaches and user data
- PCI DSS non-compliance consequences
Fines range from $5,000 to over $100,000 for the above problems. In the cases of lawsuits, there is no solid ceiling, and as we mentioned, the largest lawsuit surrounding this issue was set at $70 billion, with a final settlement of $700 million reached.
How StrongDM Mitigates Privilege Escalation Risks
StrongDM maintains the most up-to-date measures against the growing risks of privilege escalation.
StrongDM enforces the principle of least privilege consistently. It’s the best practice today for generally staving off privilege escalation risks.
The principle of least privilege dictates that all actors and entities be given the minimum level of privilege necessary to complete their functions. Thus, the privileges granted are exactly what is needed to make their role feasible, and no more.
This principle severely limits the possibility of privilege escalation attacks leading to grotesque abuses of roles. If any user has excessive privileges, the potential for abuse is always high.
Minimization and restriction of privileges with StrongDM ensures that only the essential privileges needed for a given task are granted. Users cannot access resources that fall outside of this purview, as the system will deny access.
Strict segregation of responsibilities for crucial tasks is necessary for this measure. For example, if one user is responsible for executing payments and another is responsible for approving them, the potential for abuse is much lower. Of course, this requires that users be granted only the minimal privileges necessary for their role.
Key Features of StrongDM for Privilege Escalation Prevention
General best practices are necessary to ensure that privilege escalation attempts are blocked.
1. Multi-Factor Authentication (MFA)
MFA is a general best practice that adds another layer of complexity for attackers. Privilege escalation attempts require the attacker to know/have some mix of:
- PINs
- Security question answers/user personal information
- Badges, smartphones, or other digital keys
- Access to other user accounts
- Biometrics (authorized user’s fingerprints, facial structure, and eyes)
- Voice
Even the simpler MFA systems make it much harder for attackers to escalate privileges.
2. Role-Based Access Control (RBAC)
Role-based access control (RBAC) helps admins define and manage granular access levels based on job roles. It simplifies role management by assigning pre-defined roles and putting users into the appropriate role. That way, users have access to only the permissions they need.
The other benefit of RBAC is that it makes role management more efficient. You can sort user roles faster. Onboarding is simpler, and revoking privileges based on user actions is easy. This lends itself to greater flexibility.
In terms of security, you can edit permissions and observe actions taken by those in different roles. It reduces risks of unauthorized access and helps create and enforce the principle of least privilege.
3. Just-in-Time Access Controls
Just-in-time (JIT) access controls involve granting accesses on an as-needed basis. They complement the principle of least privilege, striking a balance between liberal privilege and no privilege at all. In this sense, it offers a security-friendly path to adding flexibility in strictly defined and enforced roles.
JIT workflows can be implemented in a step-by-step process:
- Identify resources and group them
- Define roles and assign the sensitive information they have access to
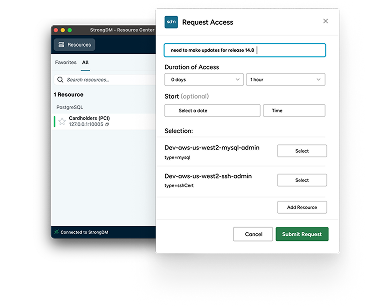
- Implement request and approval protocols, including scope, duration, and reason for access
- Apply strict revocation and expiry policies
- Always test, review, and adjust as necessary
4. Real-Time Activity Monitoring and Auditing
Real-time monitoring is the only way to ensure a reaction to threats as they arise. Monitoring for suspicious activity helps detect privilege escalation attempts by flagging and responding appropriately.
In addition to real-time monitoring, StrongDM employs audit trails. This goes beyond basic monitoring to offer anomaly detection, pattern recognition, and digital forensics.
5. Secure SSH Access Management
(Secure Shell) SSH Access Management must be implemented carefully to ensure strong server security. Most companies possess many keys, often numbering in the thousands. Without a streamlined SSH key inventory, breaks in the process and lost keys may become a problem.
There are several basic requirements any solution must meet. The first requirement is strong key-based authentication procedures.
StrongDM ensures secure and controlled SSH access to servers with strict security measures and a people-first approach. StrongDM also offers the addition of remote identities, using identities of individual users instead of leased credentials.
6. Password Management
Secure password management now involves a dynamic approach:
- Strong password requirements
- Multi-factor authentication (MFA)
- Non-password verification checks
- Eliminate Exposure
StrongDM hides resource credentials from end users. This protects against attacks as end users never have access to credentials that can be compromised.
Guide to Deploying StrongDM
StrongDM is easy to install and deploy:
- Go to the StrongDM webpage for the OS you are using:
- Follow the relevant StrongDM installation guide.
- Download StrongDM as the relevant installation guide instructs.
- Launch StrongDM on your device.
- Set up StrongDM CLI according to the installation guide’s instructions.
- Log in to the StrongDM dashboard to create and configure resources. Each resource is a system that you want StrongDM to access and secure.
Next, you will need to integrate StrongDM with existing databases, servers, and cloud services:
- Database connections require basic connection details and any additional authentication details.
- Server connections require SSH connection details. This normally means the IP address, port, and key.
- Integrations with cloud services require compatibility and the respective authentication measures for the platform you're integrating with.
You will want to read the simple deployment instructions for specific use cases.
Best Practices for Leveraging StrongDM Effectively
By employing the best practices, you can ensure maximum efficacy with StrongDM.
1. Setting up Granular Access Controls
StrongDM enables role and access configuration for you. However, it’s up to you to configure them.
The best way to employ it is to use granular access controls based on the principle of least privilege. Configure access controls that give users just the access they need to perform their jobs. Strictly following this principle minimizes the surface area for privilege abuse and horizontal privilege escalation.
After that, implement workflows that require manager approval for elevated permissions.
2. Regularly Reviewing and Auditing Access Policies
Even after careful configuration, situations change dramatically in all areas of cybersecurity. This can be partially addressed by establishing a standard operating procedure for periodic reviews of audits and access policies.
You can do this from inside StrongDM reports, like Access Review.
3. Conducting Security Awareness Training for Staff
We’ve gone over most of the basics of privilege escalation. However, a quick guide won’t suffice for most staff members in many organizations.
Secure access practices and recognizing threats as they appear are priceless skills for staff members. The only effective way to ensure the best performance possible on their part is security awareness training. This will help them not only use StrongDM more effectively but also act as more aware protectors of your data, applications, and networks.
The Bottom Line
Privilege escalation is an old but growing problem. Without adequate cybersecurity, the damage that results can vary dramatically.
For a simple and effective approach to fighting privilege escalation, consider installing and deploying StrongDM.
StrongDM is a simple tool to use for these purposes. However, an understanding of the threats you face and how StrongDM works to fight them will enable you to effectively mitigate risk of privielge escaltion attacks.
Next Steps
StrongDM unifies access management across databases, servers, clusters, and more—for IT, security, and DevOps teams.
- Learn how StrongDM works
- Book a personalized demo
- Start your free StrongDM trial

Categories:

About the Author
Fazila Malik, Sales Enablement Expert, as an accomplished Product Marketing Manager in the technology industry with over 5 years of experience, Fazila transitioned to a Sales Enablement leader position passionate about empowering go-to-market teams to excel in their roles. Throughout her career, she has worked with a range of technology products, including software applications and cloud-based solutions. Fazila is a member of the Product Marketing Alliance and an AWS Cloud Certified Practitioner. To contact Fazila, visit her on LinkedIn.
You May Also Like


